


Step by Step Guide to Shrink Wrap Provisionals
By Dr. John Nosti
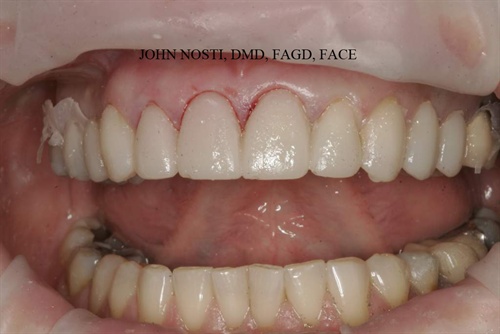
Ideally we want is for our patients to come for their insert appointment with gorgeous tissue. We don’t want any issues or complications for our day of ceramics, a fundamental key to success in this is the fabrication of your provisional restorations.
Below is a photo tutorial of how I handle most anterior aesthetics temporaries.
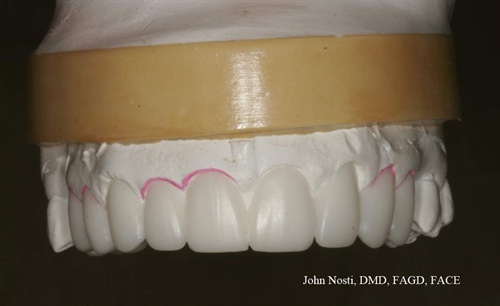
1) So for me it all starts with a Diagnostic Waxup
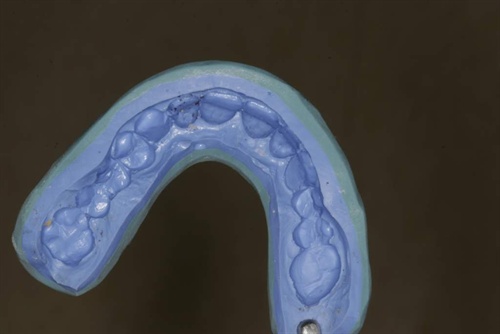
2) From the waxup the lab fabricates the Siltech. Gold Dust will fabricate a siltech with a gasket if you ask, to minimize splash when seating.
3) The shrink to fit or shrink wrap technique works great with preps like these.
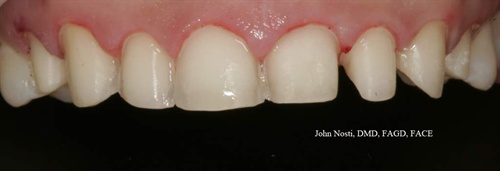
but can even work well with more aggressive preps like these. Just be ready to have to cut the temps off.

4) Paint the preps with Telio or Gluma Desensitizer.
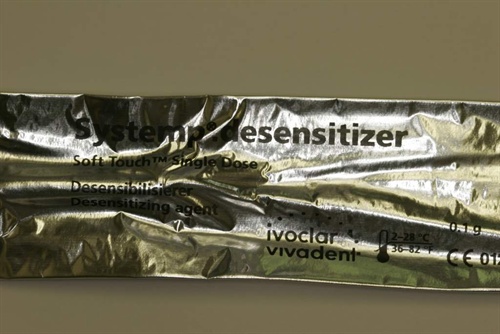
I blot this dry with a cotton roll or 2×2. Do not over dry the preps with your air water syringe tip.
5) Next paint your preps with Optibond FL Primer using a micro brush. This step is crucial for eliminating the black scuz.
Air dry this!!
Now load your siltech and seat it to place. You can use your favorite Bisacryl, like Heraeus Venus Temp II. I let it set for 2 minutes. Tease off the Siltech and if you didn’t overfill it you should be left with some flash on the tissue. Start to remove the access immediately.
I use rotary instruments almost exclusively to trim. Below are my weapons of ideal customization.

From top to bottom the burrs are the following
1) Mosquito Diamond- 8392-016 (used to trim interproximal and gingival margins)
2) White Carbide Polisher- H135UF.31.014 #ET9UF (I use this one last)
3) Diamond polisher- 859-014F-FG (used to trim flash, margins, major changes)
4) Diamond polisher- 859-010F-FG (interproximal, margins)
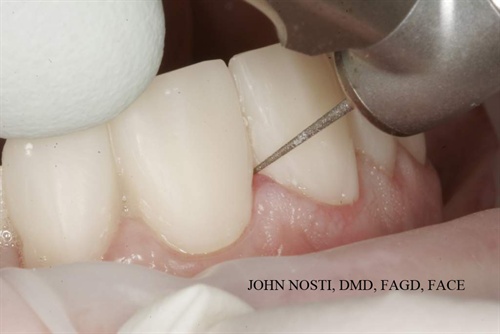
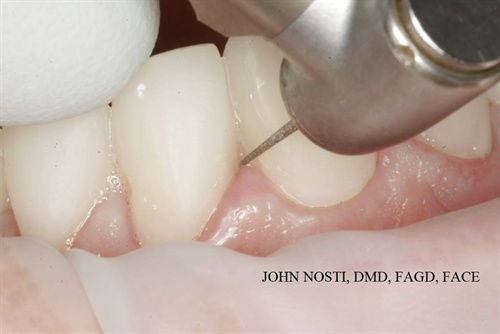
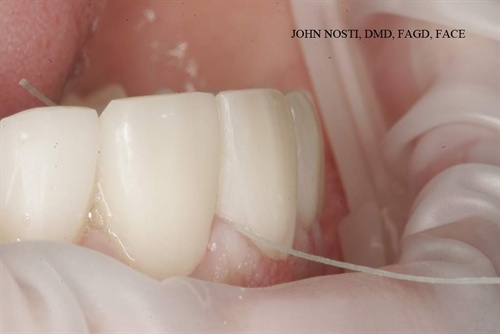
I go around all the margins, making sure they are smooth, and I open up the interpoximal embrasures so that I am able to get superfloss through each area.
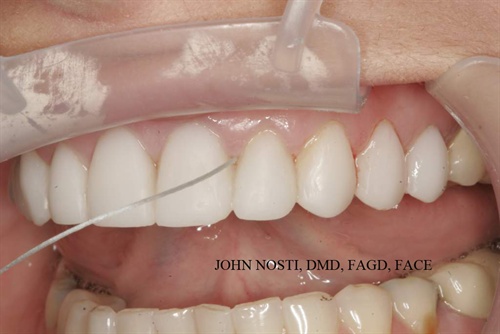
Temps finished and polished (prior to sealing). This gloss is achieved with the white carbide burr.

NOW COMES THE KEY- THE POST OP INSTRUCTIONS
1) If I used the laser on the patient- they are given a rubber tip stimulator and told to go around the area that was lasered for next 3 weeks.
2) Patients are given Endo syringes with fuzzy tip applicators to fill with Hydrogen peroxide. They are told to use to flush around the temporaries for the next two weeks.
3) Super floss is to be used every day, at least twice a day.
4) Brush as normal
5) Patients are given Chlorehexidine and told to stop using peroxide and to use the chlorehexidine in it’s place for 1 week prior to their insertion appointment.
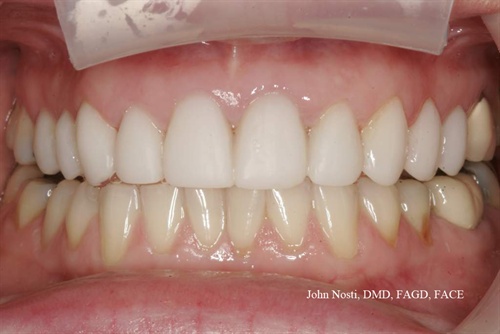
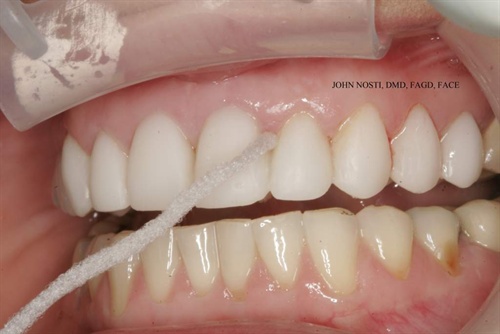
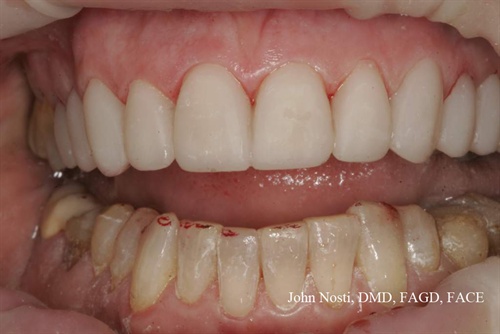
The above Patient 3 weeks later as they presented for their insertion visit.
Another Case finished and polished prior to sealing with either Luxaglaze, permaglaze, biscover, etc… which ever you like best.
At the insertion visit, I use a hemostat interproximally and squeeze! I warn the patient of the load cracking sound that is going to occur. The temps will “pop” right off.
This technique is predictable and one I’ve been using for about the last ten years with great success.
To see this live and in person, I encourage you to attend one of our LIVE in the Op courses!
Anterior Aesthetics LIVE in the Op:
April 7 – 8, 2017 Ponte Vedra Beach, FL
October 20 – 21, 2017 Englewood Cliffs, NJ
Full Mouth Rehabilitation LIVE in the Op: (Two weekend course)
August 25 – 26, 2017 (Prep weekend) and
September 29 – 30, 2017 (Seat weekend) – Englewood Cliffs, NJ


